
Buckled Hardwood After a Leak: The First 48 Hours
When a refrigerator ice-maker line, dishwasher solenoid valve, or sink supply coupling weeps water over several days, the moisture migrates silently beneath your kitchen and dining room hardwood floors. By the time floorboards begin lifting into a dramatic, tented arch several inches off the subfloor, extreme lateral hydraulic pressure has accumulated across the room. If left unmanaged, this swelling force can crack door jambs, deform drywall framing, and permanently destroy thousands of dollars in hardwood flooring.
The first forty-eight hours following the discovery of buckled hardwood represent your critical window of opportunity. Solid hardwood expands primarily across its tangential grain when exposed to elevated moisture. In an average 18-to-24 foot open-concept living area, even a modest 2% to 3% expansion in plank width translates into four to six inches of cumulative swelling force. Because the perimeter edges of the floor are tightly constrained by baseboards, drywall, and structural wall plates, the expanding planks have nowhere to travel except upward into the air.
Get a Free On-Site Flooring Consultation
Speak directly with Pedro and the Diamond Epoxy Pros crew. We inspect your subfloor or concrete slab, test moisture levels, and provide a clear, itemized quote in writing.
- 5★ on Google (22 reviews)
- Fully Insured
- Free Written Estimates
- Lifetime Delamination Warranty
- Employees Only (No Subcontractors)
- Serving Metro Atlanta since 2023
The First 48 Hours: Step-by-Step Triage for Buckled Hardwood
Successfully salvaging buckled hardwood requires a methodical sequence of physical tension release, moisture diagnostics, and controlled directional drying:
Step 1 (Hours 0 to 6): Source Elimination & Perimeter Expansion Relief Cutting
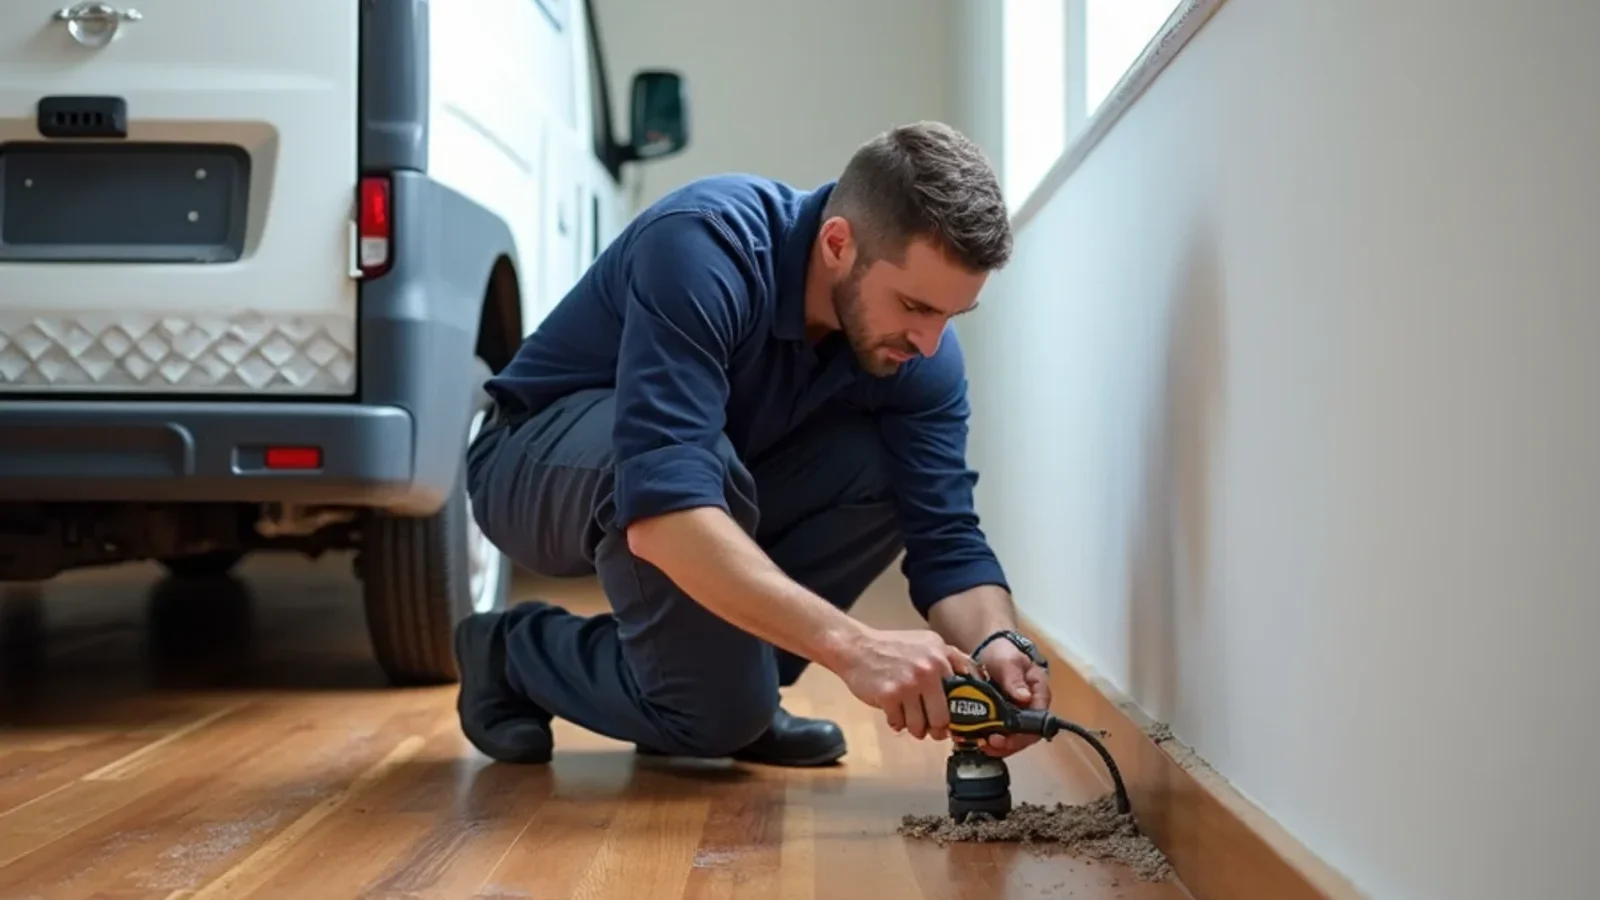
The absolute first step is identifying and closing the water source. Pull the offending appliance (refrigerator or dishwasher) away from the wall and shut off its localized angle stop valve. Next, immediately relieve the lateral pressure that is driving the buckling. Carefully pry off shoe moulding and baseboards around the perimeter of the room using a wide-blade pry bar to avoid cracking the trim.
If the hardwood has crushed completely flush against the drywall bottom plate with zero gap, our technicians utilize specialized flush-cut toe-kick saws and oscillating multi-tools to cut a clean 1/2-inch to 3/4-inch expansion relief channel along the perimeter. This surgical cut instantly releases the lateral compression, allowing tented boards to drop back toward the subfloor under their own weight.
Step 2 (Hours 6 to 18): Non-Destructive Moisture Mapping & Subfloor Sounding
Visual inspection cannot reveal where water has traveled beneath the surface. Our technicians utilize non-invasive impedance moisture meters and infrared thermal imaging cameras to delineate the exact moisture boundary beneath the floor. In a thermal view, evaporative cooling creates a stark blue temperature gradient that maps hidden water migration patterns under adjacent kitchen cabinets, pantries, and hallways.
We then employ insulated deep-wall pin probes to measure moisture content at multiple depths: the top 1/8 inch of the plank, the core 3/8 inch, and the subfloor interface 3/4 inch deep. Knowing the vertical moisture gradient tells us whether water is actively pooling beneath the underlayment.
Step 3 (Hours 18 to 36): Injection Mat Vacuum Extraction & Directed Airflow
Once lateral tension is relieved and moisture paths are mapped, commercial drying equipment must be deployed immediately. Standard residential fans simply evaporate surface moisture, causing the top of the board to dry rapidly while the bottom remains waterlogged—which intensifies cupping and stress fractures.
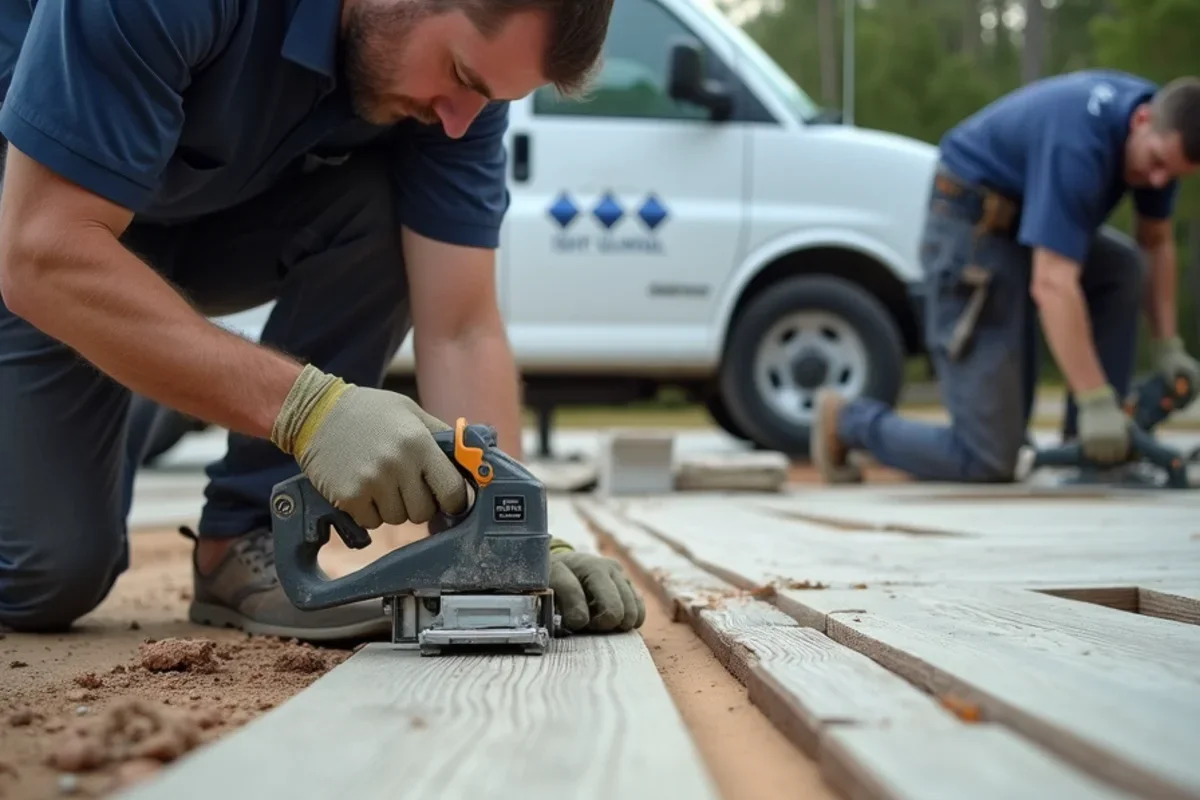
We place negative-pressure injection floor mats across the buckled zone, sealing the perimeter with temporary non-marking gaskets. High-vacuum blowers pull warm, dry air from Low-Grain Refrigerant (LGR) dehumidifiers down through perimeter expansion gaps and up through the underside of the floor, drawing out trapped liquid and vapor simultaneously. If the home has a crawlspace or basement below, we remove wet fiberglass insulation and position commercial air movers directly beneath the saturated subfloor.
Step 4 (Hours 36 to 48): Controlled Stabilization & Deflection Monitoring
During the second 24 hours, the floor enters active stabilization. We monitor daily psychrometric drying logs, recording moisture content reductions in the wood. As moisture levels drop below 18%, planks begin relaxing back toward horizontal alignment. If specific boards have pulled their cleats loose from the subfloor, we place heavy padded drying weights across the field to guide the wood into a flat drying plane.
Cellular Mechanics of Wood Swelling: Cupping, Crowning, and Tenting
Wood is an anisotropic, hygroscopic biological polymer. It absorbs and releases moisture constantly to reach equilibrium with its ambient environment. Understanding the mechanical differences between moisture deformations is essential for proper restoration:
The Anatomy of Cupping: Bottom-to-Top Moisture Differential
Cupping occurs when the bottom face of a hardwood plank absorbs more moisture than the top face. Because the bottom expands in width while the dry, polyurethane-coated top cannot expand at the same rate, the edges of each individual board curl upward, creating a washboard or concave surface. Cupping is a direct indicator of moisture trapped beneath the floorboards.
The Anatomy of Tenting: Lateral Compression Beyond Fastener Limits
Tenting (or severe buckling) represents the extreme failure of a flooring system under lateral compression. Unlike cupping—which affects individual boards—tenting involves multiple adjacent boards locking together at their tongue-and-groove seams and lifting into an A-frame peak. The lateral expansion force exceeds the withdrawal resistance of the floor cleats, ripping the fasteners directly out of the subfloor sheathing.
Hardwood Moisture Deformations: Diagnosis & Correction Matrix
Identifying the exact nature of floor distortion dictates the correct restoration strategy:
Diagnostic Comparison of Wood Floor Moisture Deformations
| Condition | Physical Shape | Moisture Differential | Primary Root Cause | Corrective Remediation Protocol |
|---|---|---|---|---|
| Board Cupping | Plank edges rise higher than center; washboard feel | Bottom of plank 5%+ wetter than surface | Underlayment water trap; crawlspace humidity | Dry subfloor from below; negative-pressure mats; DO NOT sand |
| Board Crowning | Plank center arches higher than sunken edges | Surface of plank dried faster or was sanded wet | Premature sanding while floor was cupped | Full stabilization to EMC; precision re-sanding after complete cure |
| Tent-Pitch Buckling | Planks lift 2 to 6 inches completely off subfloor | Total wood and subfloor saturation (28%+ MC) | Severe lateral expansion with zero perimeter gap | Perimeter relief cuts, weight distribution, subfloor structural drying |
| End-Joint Peaking | Plank butt ends curl upward at short transitions | Water migration along longitudinal cell lumens | Localized pooling around appliance waterlines | Selective plank replacement or surgical blind-nailing after drying |
| Subfloor Delamination | Spongy, bouncing floor with hollow footfall sound | Plywood / OSB adhesive failure from saturation | Prolonged standing water over 72 hours | Full tear-out of affected section; subfloor plywood replacement |
The "Do Not Sand" Rule: Avoiding Permanent Crowning
When a homeowner or inexperienced handyman sees cupped, rippled hardwood following a leak, the most common catastrophic error is renting a drum sander to grind the floor flat immediately. Sanding a cupped floor while the bottom of the wood is still saturated removes the raised wood edges permanently.
When the subfloor and the bottom of the planks finally dry weeks or months later, the bottom fibers shrink back to their original dimensions. However, because the top edges were ground off, the center of the board now protrudes higher than the edges—creating permanent crowning. A crowned floor can rarely be restored without removing excessive wood thickness, often ruining the boards down to the tongue-and-groove line and requiring total replacement.
Repair vs. Replace Decision Framework
Not all buckled floors can or should be saved. Our certified restorers evaluate structural integrity using three primary criteria:
Solid Hardwood vs. Engineered Hardwood vs. Luxury Vinyl Reaction
Solid 3/4-inch wood has immense cellular memory; if dried thoroughly before wood rot or fungal degradation occurs, it will usually settle flat and can be refinished like new. Engineered hardwood, however, contains cross-laminated plywood or HDF cores glued with phenolic resins. Prolonged water saturation breaks down these glue lines, causing permanent veneer delamination, bubbling, and edge peeling that cannot be sanded out. Luxury vinyl plank (LVP) is waterproof, but water trapped beneath it breeds toxic black mold on the subfloor, requiring unclicking the planks, sanitizing the subfloor, and reinstalling.
Assessing Subfloor Integrity: Plywood vs. OSB vs. Diagonal Pine Decking
In post-war Atlanta homes across Brookhaven, Decatur, and East Point, floors rest on 1x6 diagonal pine boards or 3/4-inch CDX exterior-glue plywood. These substrates handle water well and dry back to structural rigidity. However, modern homes built with Oriented Strand Board (OSB) face permanent swelling: OSB edges expand up to 30% and never return to their original thickness, creating permanent subfloor ridges that telegraph through new flooring.
Partial Board Replacement & Precision Weave-In Lacing
If only a 6x8 foot section of kitchen flooring directly in front of a leaking dishwasher is permanently damaged, Diamond Epoxy Pros executes a precision "lace-in" repair. Rather than replacing the entire floor, we cut out ruined boards in a staggered tooth pattern, source matching kiln-dried white or red oak of identical width and grain grade, blind-nail the new planks into the subfloor, and sand the entire continuous room for a flawless, invisible transition.
Insurance Claim Navigation for Appliance Leaks & Buckled Floors
Appliance water leaks account for millions in insurance payouts annually in Georgia. However, insurance adjusters frequently attempt to classify buckled floors as "wear and tear" or "continuous long-term leakage" to minimize payouts.
At Diamond Epoxy Pros, we equip homeowners with detailed technical documentation that proves sudden failure: thermal moisture mapping showing a fresh hydraulic path from the appliance valve, calibrated psychrometric logs showing active drying progress, and photographic proof of uncompromised subfloor framing. We work directly with major insurance carriers to approve full line-item estimates in Xactimate, ensuring proper coverage for baseboard removal, structural drying, board lacing, and continuous room refinishing under Georgia insurance uniformity standards.
Frequently Asked Questions
- Wood expands across its tangential grain as it absorbs water. Across a 15-to-20-foot wide room, even a 2% expansion translates into several inches of physical swelling force. Because the perimeter of the floor is tightly wedged against the wall framing and baseboards, the expanding planks have nowhere to go but straight up, creating a tented arch off the subfloor.